In modern automobiles, the Engine Control Unit (ECU) plays a crucial role in controlling various aspects of the engine’s performance. The ECU gathers information from sensors throughout the vehicle and uses that data to make decisions that optimize engine performance. However, like any other electronic component, ECUs can sometimes develop faults or malfunctions. Testing the ECU using a multimeter is a valuable diagnostic technique that can help identify issues and ensure the smooth operation of your vehicle. In this article, we will guide you through the process of testing an ECU using a multimeter, providing you with step-by-step instructions and expert tips.
Understanding the Engine Control Unit (ECU)
The Engine Control Unit, or ECU, is essentially the brain of a vehicle’s engine. It is responsible for monitoring and controlling various engine functions, such as fuel injection, ignition timing, and emission control. The ECU receives information from sensors located throughout the vehicle and uses that data to make decisions that optimize engine performance and efficiency.

Importance of Testing the ECU
Testing the ECU is essential for maintaining the optimal performance of your vehicle. A malfunctioning ECU can lead to a range of issues, including poor fuel economy, decreased power output, and even engine misfires. By regularly testing the ECU, you can identify potential problems early on and take appropriate measures to rectify them.
Bad ECU Symptoms
The Engine Control Unit (ECU) is a critical component of a vehicle’s engine management system. When the ECU malfunctions or develops faults, it can lead to various issues with the vehicle’s performance. Here are some common Bad ECU Symptoms which are as follows:
- Check Engine Light (CEL) Illumination: One of the most prominent indications of a bad ECU is the illumination of the Check Engine Light (CEL) on the vehicle’s dashboard. The ECU continuously monitors the engine’s performance, and when it detects abnormalities or malfunctions within its system, it triggers the CEL.
- Engine Performance Issues: A faulty ECU can cause a range of engine performance problems. You may experience decreased power, hesitation during acceleration, or sluggishness in overall engine response. Additionally, the engine may misfire or struggle to start altogether.
- Decreased Fuel Efficiency: An ECU that is not functioning properly can disrupt the engine’s fuel injection timing and air-fuel mixture, leading to decreased fuel efficiency. As a result, you may notice a significant drop in miles per gallon (MPG), requiring more frequent refueling than usual.
- Erratic Idling: An ECU issue can cause the engine to idle erratically. The idle speed may fluctuate, leading to a rough-running engine that feels unstable. In some cases, the engine may even stall while idling, creating further disruptions to its performance.
- Transmission Problems: The ECU plays a significant role in controlling the transmission of many vehicles. When the ECU is faulty, it can result in erratic shifting, gear slippage, or transmission hesitation. You may find it difficult to change gears smoothly or experience delays in the transmission response.
- Electrical Issues: Since the ECU manages various electrical components within the vehicle, a malfunctioning ECU can lead to electrical problems. These issues may manifest as problems with the power windows, door locks, or even the vehicle’s lights, indicating a potential problem with the ECU.
- Failed Emissions Tests: When the ECU is not functioning correctly, it can negatively impact the vehicle’s emission control systems. This can result in the vehicle failing emissions tests, leading to compliance issues and potential fines. If you consistently fail emissions tests, it could be a sign of a faulty ECU.
It’s important to note that while these symptoms are often associated with a bad ECU, they can also indicate other underlying issues. To accurately diagnose a bad ECU, it is recommended to consult a professional mechanic or automotive technician. They have the expertise and diagnostic tools necessary to identify the specific cause of the problems and determine if the ECU needs repair or replacement.
Preparing for ECU Testing
Before you begin testing the ECU, it is important to take certain precautions to ensure your safety and the well-being of your vehicle. Here are a few steps to follow:
- Ensure that your vehicle is parked on a surface that is flat and level, and engage the parking brake to secure it in place.
- Disconnect the negative terminal of the battery to avoid accidental electrical shorts.
- Allow the engine to cool down completely before starting the testing process.
Gathering the Necessary Tools
To test the ECU with a multimeter, you will need the following tools:
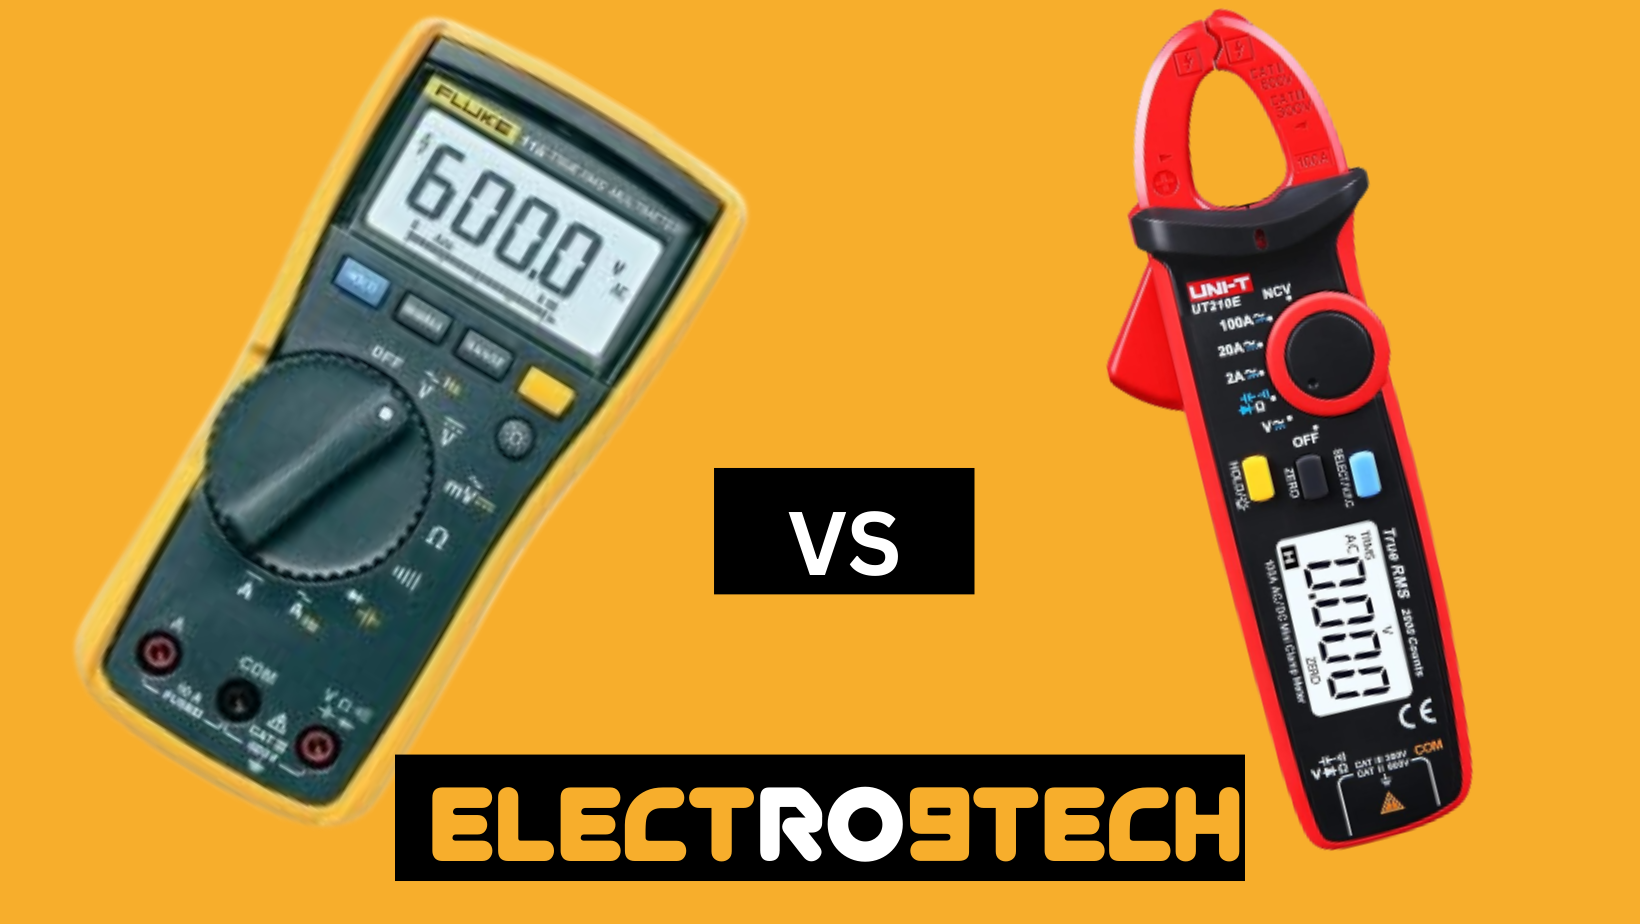
- A multimeter capable of measuring voltage, resistance, and continuity.

Safety goggles and gloves for personal protection.

Step-by-Step Guide: How to Test ECU with Multimeter
Locating the ECU
The ECU is usually located inside the engine compartment, near the firewall. Please note that the precise location of the ECU can vary based on the specific make and model of your vehicle. Consult your vehicle’s service manual or search online to find the precise location of the ECU.
Disconnecting the ECU
Once you have located the ECU, carefully disconnect all electrical connectors attached to it. Take note of the connectors’ positions and make sure to mark them if necessary. This will help you reconnect them correctly later.
Setting Up the Multimeter
Set your multimeter to the appropriate settings for voltage measurement. Typically, you will use the DC voltage setting. Refer to your multimeter’s user manual for specific instructions on how to set it up.
Testing the Power Supply
Connect the positive lead of your multimeter to the ECU’s power supply terminal and the negative lead to a known good ground. Activate the ignition without actually starting the engine. Your multimeter should display the battery voltage or a voltage within the manufacturer’s specified range. If you don’t see any voltage, there may be an issue with the power supply.
Checking for Ground Connections
With the multimeter still set to the voltage measurement mode, connect the positive lead to the battery positive terminal and the negative lead to the ECU’s ground terminal. Your multimeter should display a voltage reading close to zero. If you observe a significant voltage, there may be a ground connection problem.
Verifying Voltage Signals
Switch your multimeter to measure voltage in the AC mode. Reconnect the electrical connectors to the ECU and start the engine. Carefully probe the input and output terminals of the ECU’s sensors and actuators, checking for voltage signals within the specified range. Inconsistent or nonexistent voltage signals may indicate a faulty sensor or actuator.
Inspecting the Input/Output Signals
Finally, set your multimeter to measure resistance or continuity. With the engine turned off and the battery disconnected, probe the ECU’s input and output terminals to check for proper resistance or continuity. Any unusual readings may indicate a wiring or component problem.
Troubleshooting Common ECU Issues
In the process of testing the ECU, you may encounter certain issues that require troubleshooting. Here are several frequently encountered issues along with their possible solutions:
- Issue: No power supply to the ECU. Solution: Check the fuse box and wiring connections to ensure they are intact.
- Issue: Inconsistent or incorrect voltage signals. Solution: Inspect and replace faulty sensors or actuators.
- Issue: Unusual resistance or continuity readings. Solution: Examine the wiring harness for any signs of damage or wear and replace it as necessary.
Conclusion
Testing the Engine Control Unit (ECU) with a multimeter is a valuable diagnostic technique for identifying potential issues and ensuring the smooth operation of your vehicle’s engine. By following the step-by-step guide provided in this article, you can perform ECU testing with confidence and address any problems early on. Regularly testing the ECU will help you maintain optimal performance and prevent more significant issues down the line.
FAQs
- Can I test the ECU without a multimeter?
While a multimeter is the most reliable tool for ECU testing, there are alternative diagnostic tools available that can provide some insights into the ECU’s functionality. However, a multimeter is highly recommended for accurate testing. - What are the signs of a failing ECU?
Some common symptoms of a failing ECU include engine misfires, decreased fuel efficiency, loss of power, and irregular engine behavior. If you notice any of these signs, it is advisable to test the ECU. - Is ECU testing a DIY task, or should I consult a professional? ECU testing can be performed by experienced DIY enthusiasts, especially if they have a good understanding of automotive electronics. If you have any doubts or feel uneasy about carrying out the testing process, it is highly advisable to seek the expertise of a professional mechanic or automotive technician. They possess the necessary knowledge and specialized equipment to effectively diagnose and resolve ECU-related problems.
- Can ECU testing fix all engine problems?
ECU testing is a valuable diagnostic method, but it may not be the solution to every engine problem. While it can identify issues related to the ECU itself or its connections, there could be other mechanical or electrical problems that require separate diagnosis and repair. - Are there any precautions to take during ECU testing?
Yes, there are a few precautions to keep in mind during ECU testing. Always ensure that the battery is disconnected before disconnecting or reconnecting any electrical connectors. Additionally, be cautious when working around the engine or electrical components to avoid injury or damage.


